CNC mill - foam widget
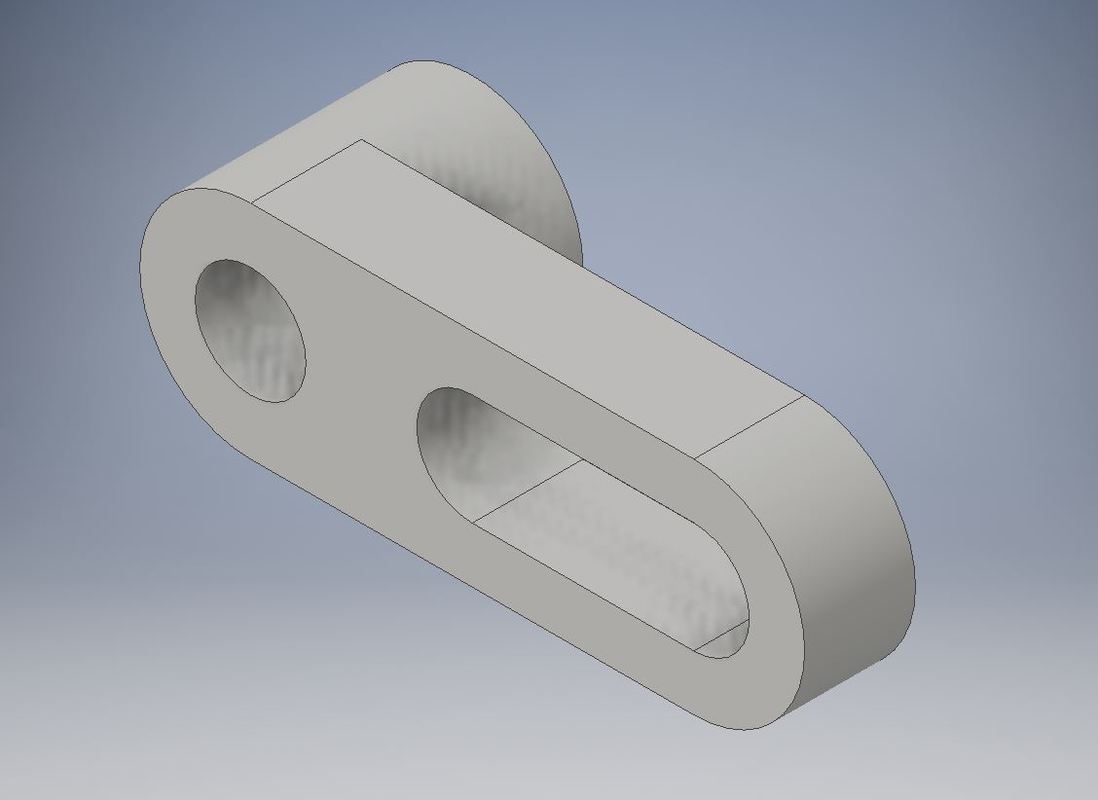
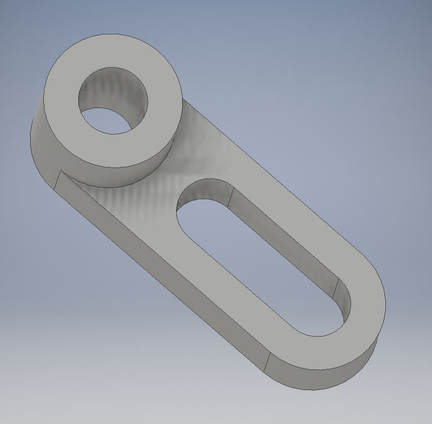
My assignment was to design the given widget in Inventor and carve it out using the CNC Mill. We were given a sketch of the dimension so the first step I had to do was use the dimensions to create the object in Inventor as seen below.
|
|
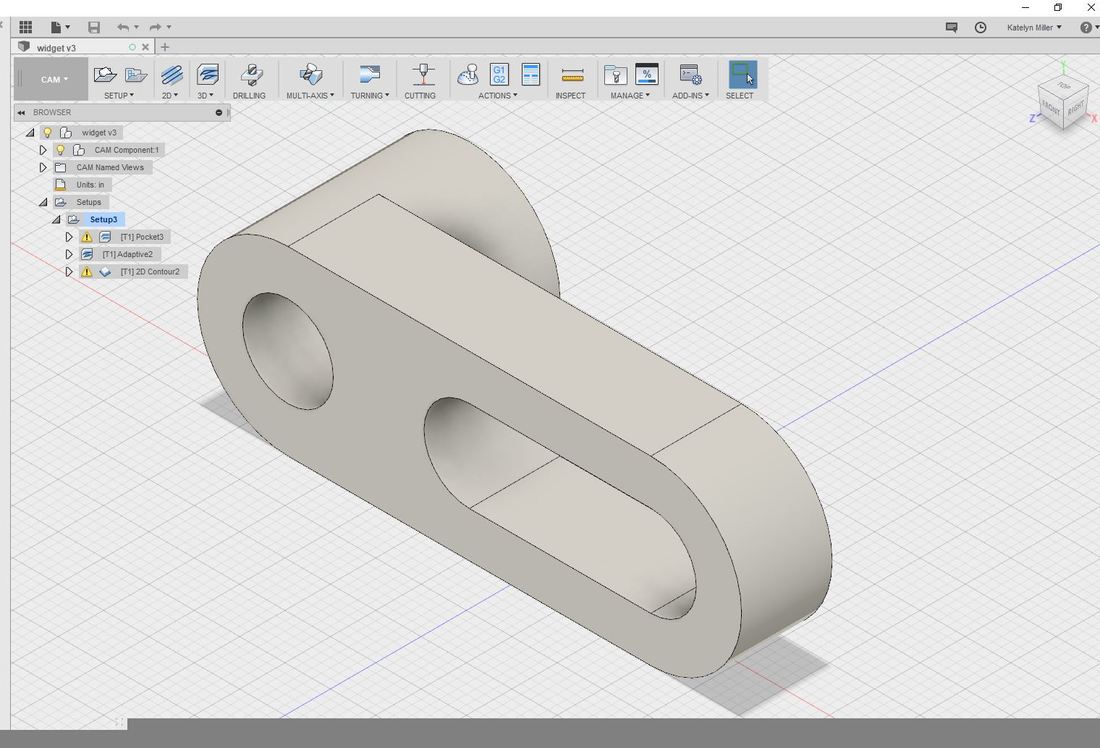
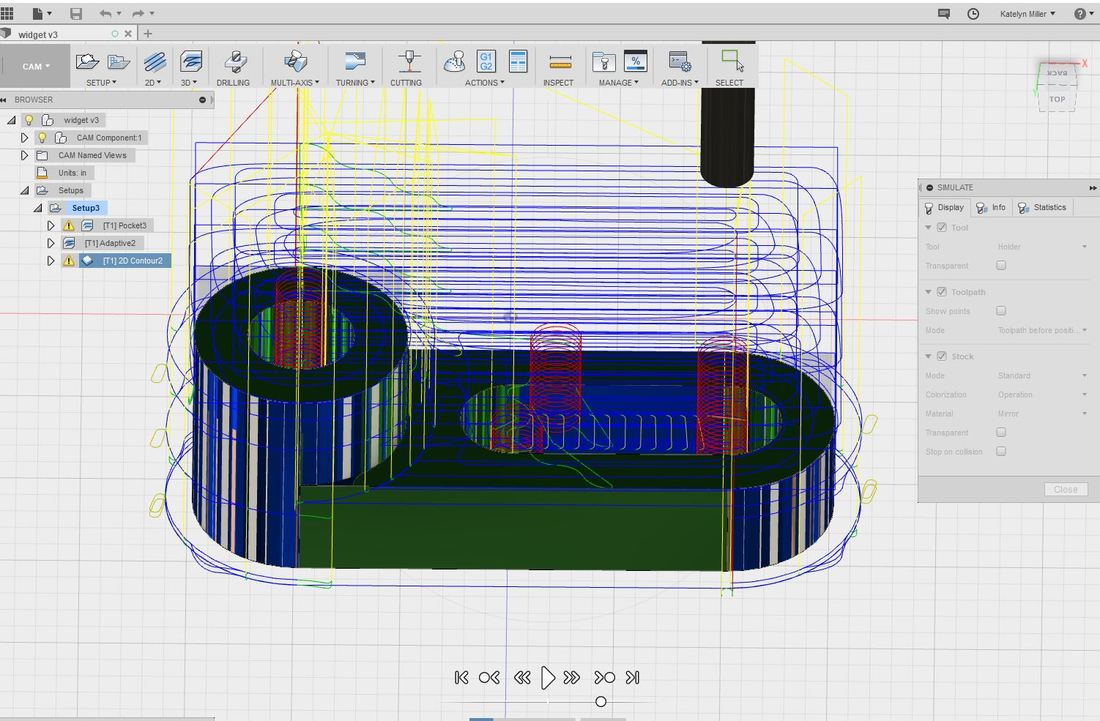
After I completed the file, I had to use Autodesk Fusion 360. I imported the file and performed a pocket clearing, adaptive clearing, and contour to tell the machine what I want it to cut and carve. I ran a simulation to ensure it would perform as I wanted.
|
|
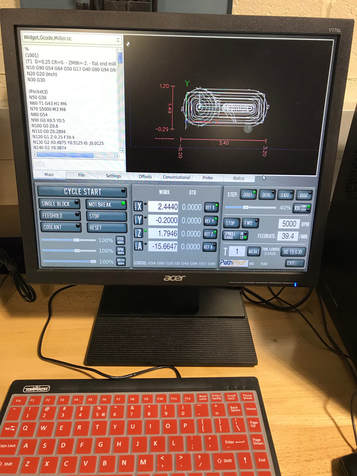
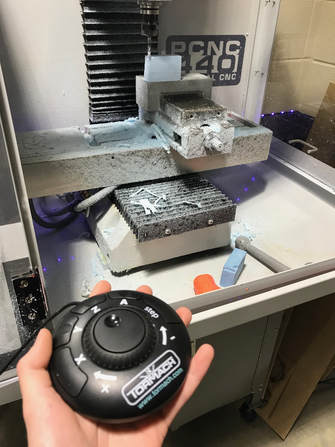
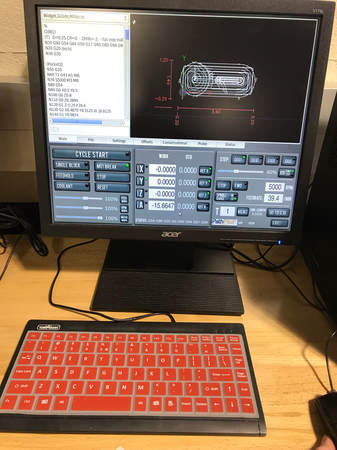
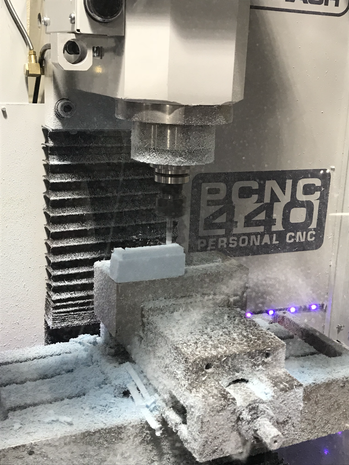
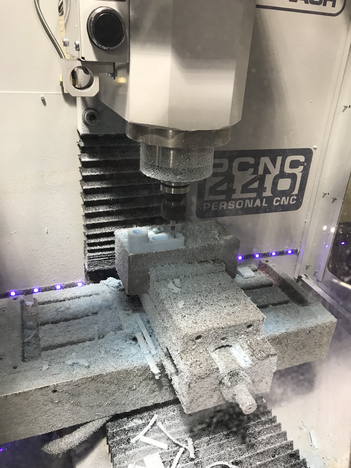
The final step is creating a g-code. I saved the Gcode to a flash drive and took it down to the computer connected to the mill. Once I clicked my file, I had to line up the mill with the front left corner of my foam piece. Once it was in the right spot, I zeroed out the locations for the X, Y, and Z dimensions. I clicked cycle start and watched the machine do its job.
|
|
|
|
|
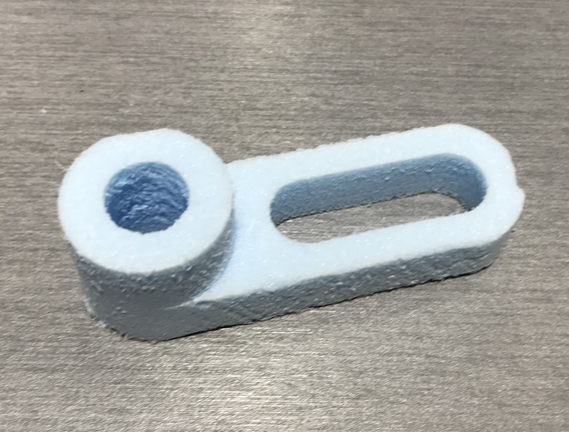
My Final Product:
what i learned
I learned how to use Fusion 360 during this project, which is yet another software that I can expect to use more in the future. It is furthering my knowledge and experience using different software. I also got to use the CNC mill which is an entirely new machine for me. By learning how to carve the widget, I can now use my knowledge of Fusion 360 and the CNC mill to create bigger, better and more complex creations.
