What is it?
Autodesk Inventor is a 3D CAD (Computer Aided-Drawing) program that is used for product development. It gives the user the ability to design and simulate a creation through the use of a computer. There are many advanced features such as automation, parametric modeling, flexibility modeling, and more.
Widget designs
My first task was to develop a widget, first on paper, then on Inventor, and finally on Makerbot Desktop to 3-D print it.
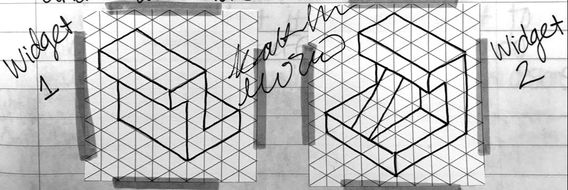
I sketched 2 widgets in my designer notebook like the ones shown above.
Inventor
|
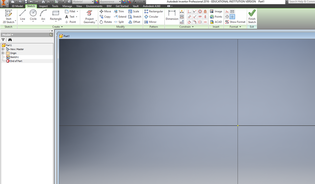
I chose one of the sketches to design in Autodesk Inventor. The next section explains how to go from the blank screen on the left to the 3D widget design on the right. |


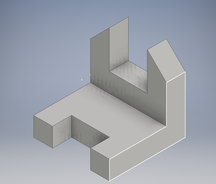
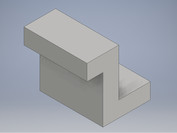
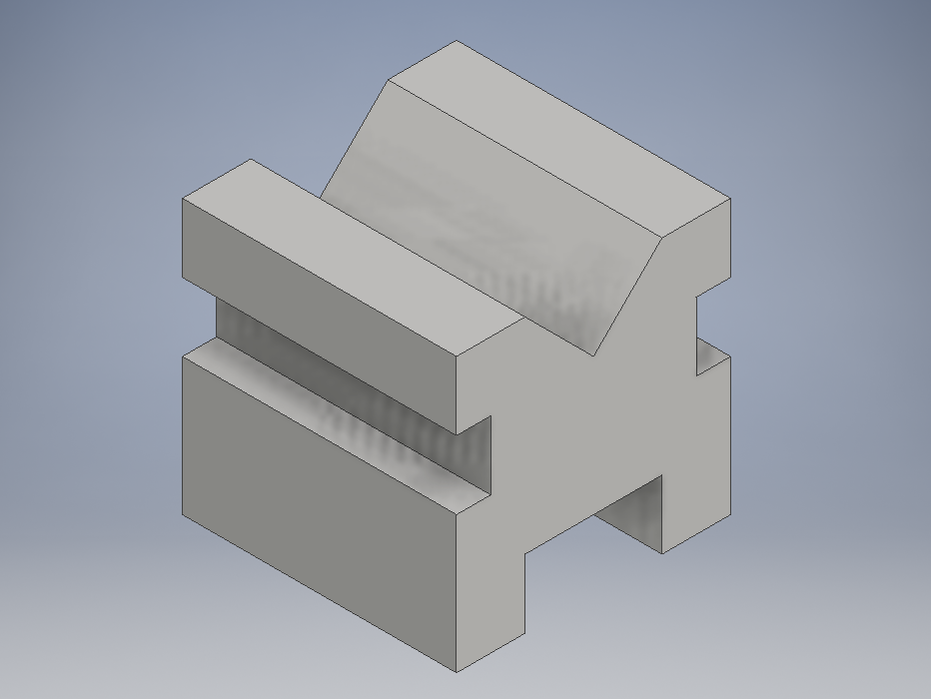
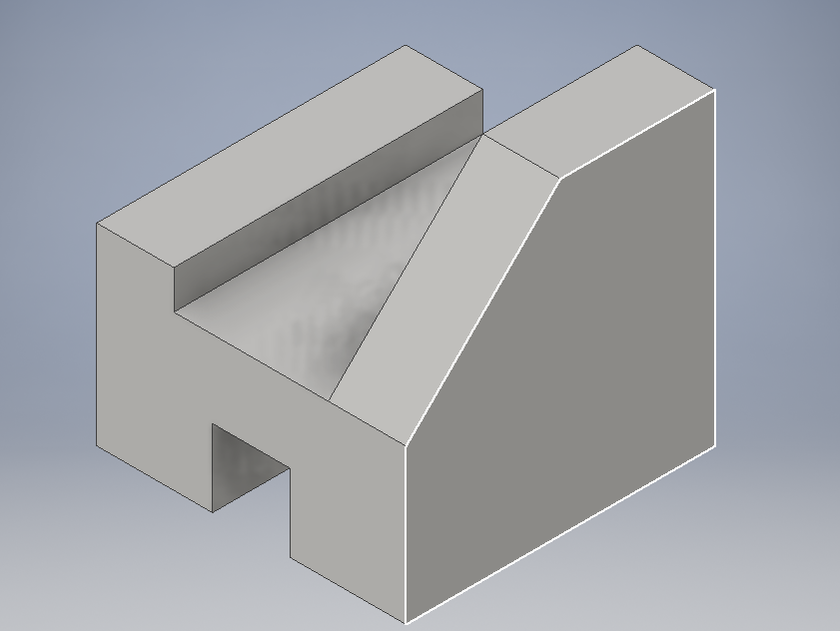
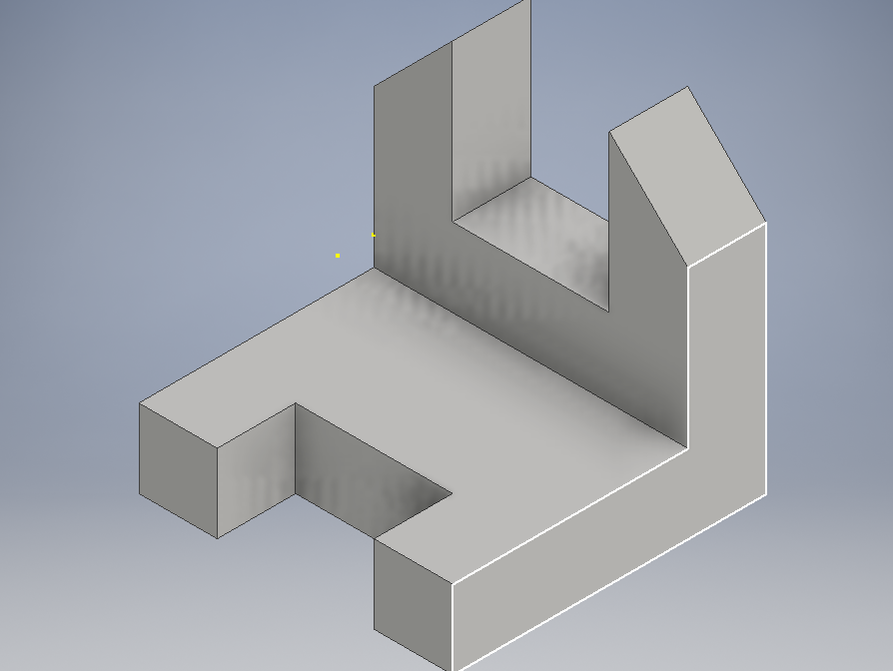
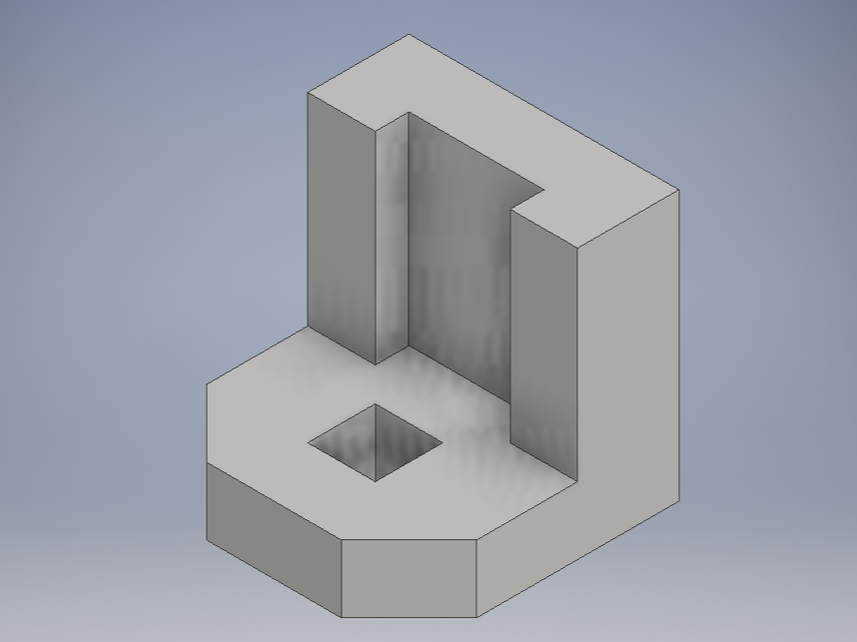
By using the same method of sketch, dimension, and extrude, I created all 6 widgets in Inventor.
|

|
|
|
|
|
makerbot desktop
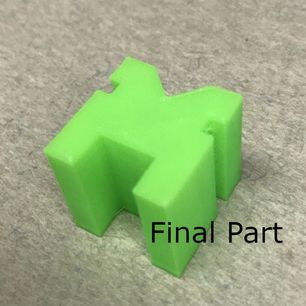
I continued on and decided to print widget 3. I had to use Makerbot Desktop to set up the print.


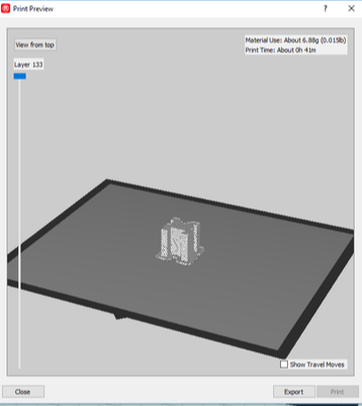
The print preview screen should look like this. It is ready to print. Save it to a flash drive.
makerbot 3D printer
Plug the flash drive into the printer, make sure the settings are correct, and watch it print. It forms the objects layer by layer.


What i learned
When I first stared this project, I had never used Autodesk Inventor or 3D printed anything. Through the process of designing and creating the widgets as an introduction to the software, I learned a lot of helpful skills. The most important information to know are the 3 simple steps in Inventor which are to sketch, dimension, and extrude. You repeat these 3 over and over again until you get the desired shape. In order to 3D print the object, all you need to do is open the file in Makerbot Desktop and set it up for printing. All that is left to do is sit back and watch the printer do its job. Now I can take my knowledge of Inventor and 3D printing and use it to design and develop more complex creations.
